


For PC gamers, the Pico 4 has a big advantage: the inexpensive all-in-one headset can be connected to the PC at any time. Whether wired or via WLAN: The handy VR goggles from the Tik-Tok forge prove to be a perfomant all-round talent.
The Pico 4 is, in my opinion, one of the best standalone VR headsets currently available. Not only does it have a high resolution and a good wearing comfort for its price range. It can also be used as an all-round VR headset if you don't already own a VR headset for PC gaming - and: You can practically any VR experience from the PC library, provided of course that you have a reasonably good computing power at home. Depending on your Wi-Fi equipment and coverage, the 300-gram VR headset then functions as a wireless streaming companion for wireless PC VR enjoyment in the living room. Alternatively, it can also be wired. But first things first. In the following article, we will show you the practical options step by step.
Connecting the Pico 4 to the PC via USB
The most reliable and flawless connection is via a USB-C cable. However, it should be noted that not every USB-C cable meets the specifications. In order to have sufficient room to move, a slightly longer cable is suitable. When buying, it is best to look for USB-C cables that were previously listed as compatible under the accessories of the Meta Quest glasses (formerly "Oculus Quest"). I myself use an "Amazonbasics" cable, which was one of the first cables to work with the Quest 1. To connect to the PC, you have to use the "Pico Streaming Assistant" from the Software library from Pico installed on the PC.
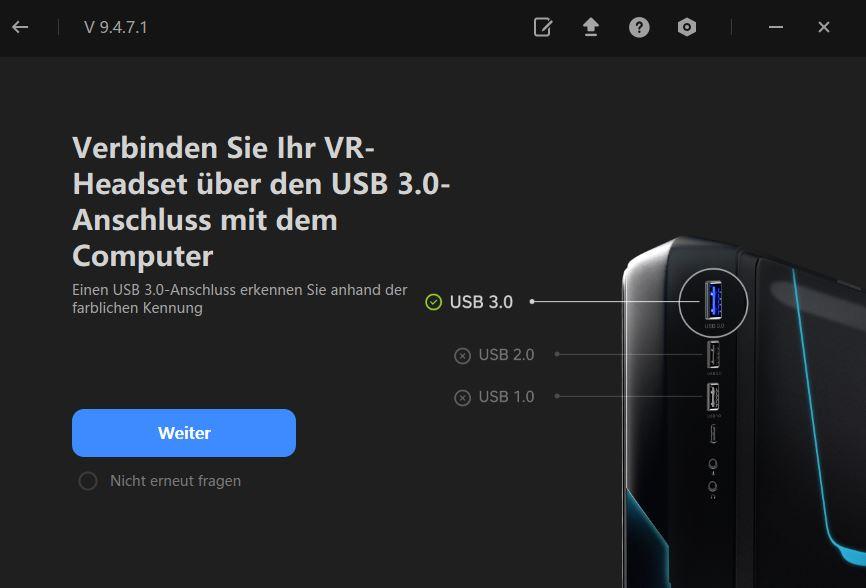
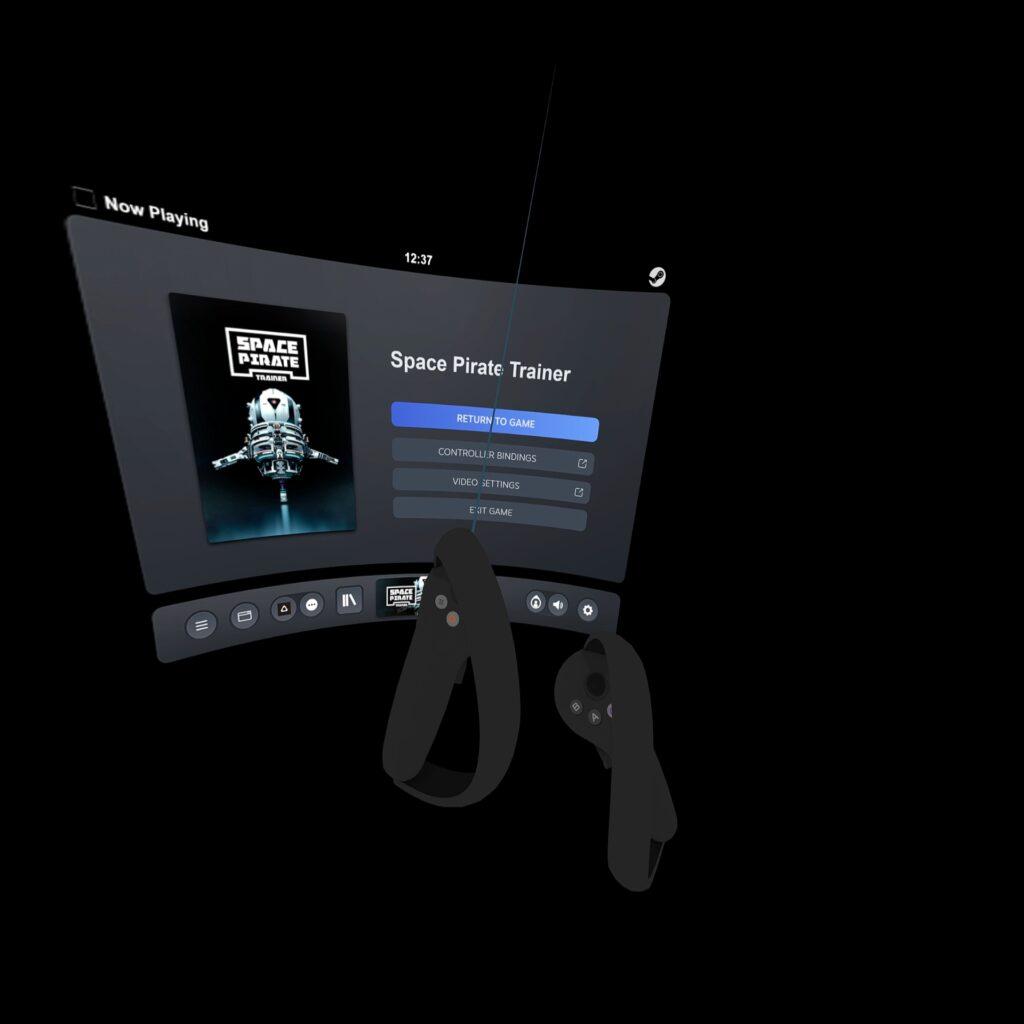
The rest is simple: After the USB connection cable has been connected to the computer via a USB 3.0-compatible USB-A socket and to the headset via a USB-C port and after you have logged into Steam on the PC, you put on the headset and ask the streaming assistant of the glasses to establish a connection to the PC using the "Connect" button. You will then land directly in Steam VR and can start the games from the Steam VR catalogue from there.
Little tipIf you want to get out of a game again, simply press the menu button on the far left of the left controller to switch between Steam VR games.
Wireless via Streaming Assistant
The best way to use the Pico as a streaming device is via a 5-Ghz-capable WLAN router. For example, I have a Fritz!Box 7590 in use, which I use as a bridge router to my UPC Connect Box. Now there are two options: For a small extra charge (about 15 euros), there is the "Virtual Desktop" application in the Pico Store.
Some of you may now be wondering whether you should spend "extra cash" on the Virtual Desktop Streamer app when Pico offers the free Streaming Assistant. It seems that the performance of the Pico software has also improved a lot since a few months ago. I personally use both apps, but mostly prefer Virtual Desktop. Maybe it's just me who has this impression. The buffering and resolution seem to me to be a bit smoother, especially with high-end games. However, if you just want to play and don't have an ultra graphics card, you can safely use the Pico-Link software.
By the way, in my opinion, purchased Oculus content (via the Revive tool) can be better managed and launched via the Virtual Desktop: you can get to all the titles in the application's dashboard more quickly than via Pico's streaming client.
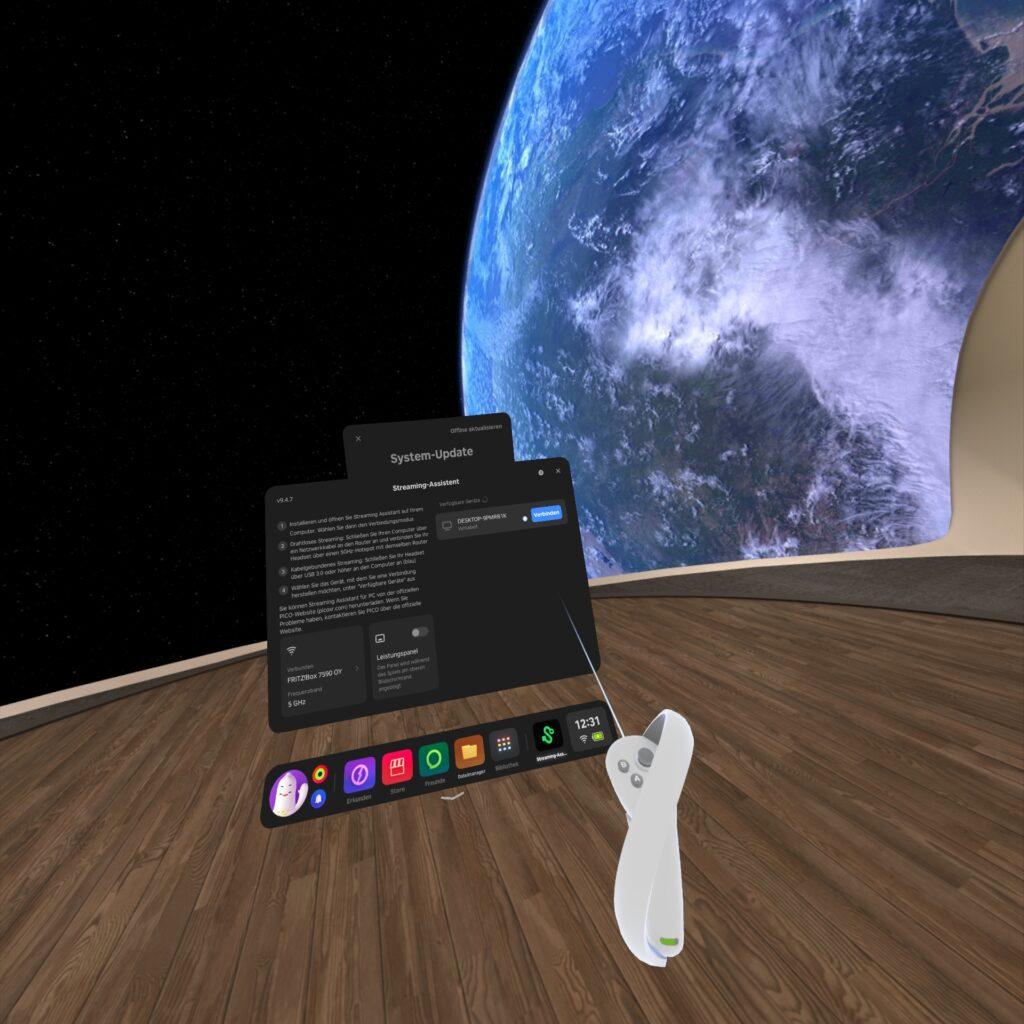
The connection via the Streaming Assistant works almost exactly the same as with a wired connection: Open the Streaming Assistant on the PC and when starting now, however, select Wi-Fi instead of USB. Open the same application on the Pico 4, search for your PC, click on "Connect" - and you are already in the Steam VR environment.
Tips for the Streaming Assistant
I would leave the video settings of the pico streaming wizard more or less at the default settings as far as the codec (H.265) and the bit rate are concerned. If you have a fast graphics card (RTX 3090 or higher), you can also switch to "Ultra" with a good Wi-Fi connection and try the 90 Hz mode. Of course, 90 Hz is always smoother than 70 Hz - but you'll have to test that out for yourself depending on your streaming-quality graphics hardware.
Wireless via Virtual Desktop
To use Virtual Desktop, download the Virtual Desktop Streamer App down. Click through the install wizard. When you start the PC application for the first time, enter the same user name under "Accounts" as your Pico 4 is named after in the settings. To check this, go to the bottom menu bar in the glasses and click on the avatar circle (far left). As soon as you have purchased and installed the same application for the Pico 4, the bandwidth of the desktop PC will be measured the first time you start the VR app.
Make sure the PC is connected to the router via a Cat7 gigabit patch cable. If you are close to your router, the bandwidth should settle at around 866 Mbps, which is usually a good value. If you now start the virtual desktop app of the glasses, you may be catapulted directly into the desktop view of your PC, but you can jump back to the dashboard of the streaming app at any time by pressing the left button of the left controller in order to select the PC VR games directly from the entire library or to switch between the PC VR games.
Common problems
If the setup via Virtual Desktop does not go quite so smoothly, troubleshooting can often consist of making sure that the streamer app is running correctly on the PC. Whether there is a conflict with a firewall rule or with the antivirus programme. Or whether you have not assigned the same user name of the Pico 4 to the desktop application of the same name. As mentioned at the beginning, you should have a fast Wi-Fi router ("AC" or "AX"). The headset should also be in the 5 GHz frequency band (not the 2.4 GHz band). To do this, you need to check the settings of your router. As already explained, you should ideally always be in the immediate vicinity of the WLAN router with the headset. Also make sure to update both the headset and app(s) as well as the associated PC applications.